Car wipers are essential for visibility in rain and snow. If your wipers stop working, it can be frustrating and dangerous. In this guide, you will learn how to diagnose and fix common electrical issues related to car wipers. We will cover the components involved, how to test them, and what steps to take for repairs.
Understanding Wiper System Components
The wiper system is made up of several essential components that work together to ensure your car's visibility during rain or other adverse weather conditions. The main parts include:
- Wiper Motor: This electric motor is responsible for the movement of the wiper arms. When you turn on the wipers, the motor activates and drives the wiper arms back and forth across the windshield.
- Wiper Switch: Located on the steering column or dashboard, this switch allows you to control the wipers. You can adjust settings for different speeds and even activate the washer fluid to clean the windshield.
- Linkage: This is the mechanical connection between the motor and the wiper arms. It translates the motor's rotational motion into the back-and-forth movement of the wipers. If the linkage is damaged or disconnected, the wipers may not operate properly.
To diagnose issues effectively, start by checking the wiper switch for proper function. Next, inspect the wiper motor for any signs of damage or wear. A simple test is to apply direct power to the motor to see if it activates. Finally, examine the linkage for any loose or broken parts. Understanding the role of each component allows for a more targeted approach to troubleshooting, ultimately leading to quicker repairs and safer driving conditions.
Common Causes of Wiper Failure
Wiper failure can result from several underlying issues. Understanding these common causes can help in diagnosing and fixing the problem effectively.
- Blown Fuse: The wiper system is protected by a fuse, which can blow due to electrical surges or short circuits. To check if the fuse is blown, locate the fuse box, usually found under the dashboard or in the engine compartment. Remove the fuse related to the wipers and inspect it; a broken filament indicates a blown fuse that needs replacement.
- Faulty Wiper Switch: The switch controls the wiper's operation. If it's damaged or worn out, it may fail to send power to the wiper motor. To test this, use a multimeter to check for continuity when the switch is activated. If there’s no continuity, the switch likely needs replacement.
- Wiper Motor Issues: The motor powers the wipers. If the motor is defective, it will not operate. You can test the motor by connecting it directly to a power source. If it doesn’t run, it may need to be replaced.
- Electrical Connections: Corrosion or loose connections can disrupt the power supply to the wipers. Inspect all wiring and connections for signs of wear or corrosion. Clean any corroded connections and ensure everything is tightly connected.
Identifying the cause is the first step in the repair process, allowing for effective troubleshooting and repair.
How to Test the Wiper Motor
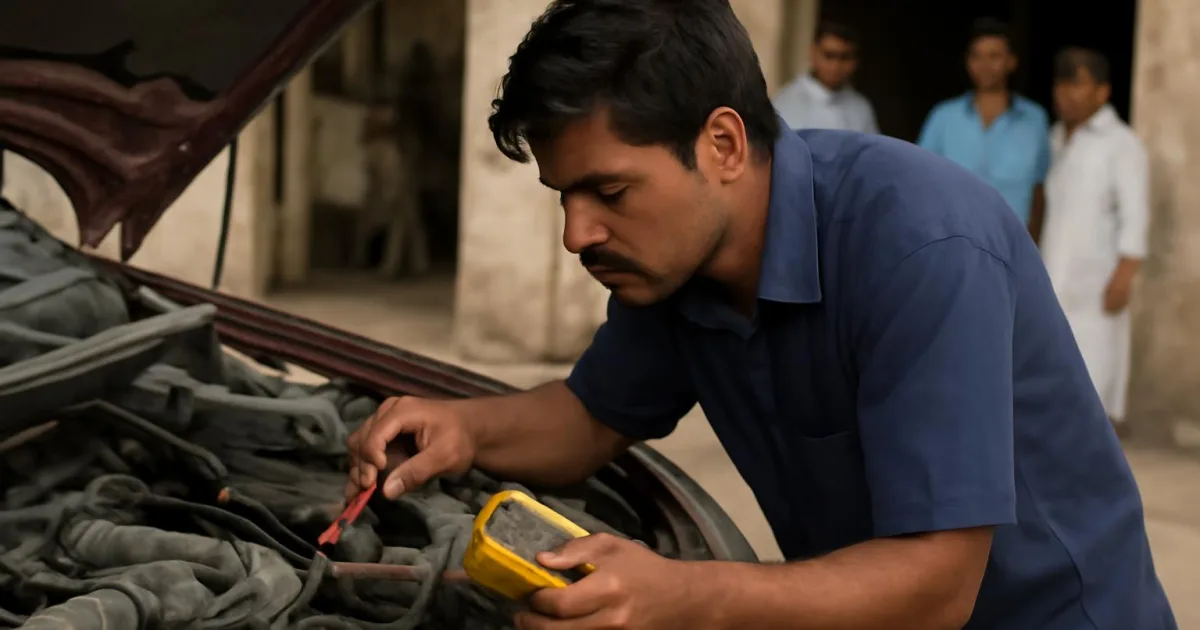
To test the wiper motor, start by locating it under the hood, typically found near the base of the windshield. Before proceeding, ensure your vehicle is turned off for safety. Once located, remove the connector from the wiper motor. Next, use a multimeter set to the DC voltage setting to check for power at the motor connector. With the ignition on and the wiper switch activated, probe the connector terminals with the multimeter leads. If you detect voltage (around 12 volts), this indicates that power is reaching the motor, suggesting that the motor itself may be faulty. You can further test the motor by applying direct power from a battery to see if it operates. If there is no voltage reading, the issue may lie with the wiper switch or the wiring. Inspect the wiper switch by checking for continuity when the switch is activated. If the switch is functioning, check the wiring harness for any signs of damage, such as frayed wires or poor connections. Repair or replace any damaged wiring as necessary. This hands-on testing is an essential skill covered in the Automotive Electrical Fundamentals course, where you will learn to diagnose and fix electrical issues effectively.
Inspecting the Wiper Switch
The wiper switch plays a vital role in the operation of your vehicle's wipers. To start inspecting the switch, you first need to access it, which is typically found on the steering column or sometimes on the dashboard, depending on your vehicle model. Begin by disconnecting the car battery to ensure safety while working on electrical components. Next, remove any panels or covers that obstruct access to the switch. This might require a screwdriver or a trim removal tool, so have those handy.
Once you have clear access to the wiper switch, take a multimeter and set it to the continuity test mode. Connect one probe to the terminal of the switch and the other probe to the ground. Then, engage the wiper switch by turning it on or moving it through its different settings. If the multimeter beeps or shows a reading indicating continuity, the switch is functioning properly. However, if there is no beep or reading, the switch is faulty and should be replaced.
This step is essential for diagnosing wiper issues and understanding electrical circuits in vehicles. If you want to improve your skills in this area, consider enrolling in the Automotive Electrical Circuits & Wiring course, where you will learn more about testing and troubleshooting various electrical components in cars.
Repairing and Replacing Components
After pinpointing the faulty component in your car's wiper system, you can proceed with repairs or replacements as needed. Start with a blown fuse, which is a common issue. To replace it, locate the fuse box, identify the wiper fuse (refer to the diagram on the cover), and remove it. Insert a new fuse that matches the amperage rating of the old one. This step is straightforward and requires no special tools.
If the wiper motor is malfunctioning, you will need to purchase a new one from a trusted auto parts supplier. Before removing the old motor, disconnect the battery to prevent any electrical shocks. Then, unscrew the motor from its mounting bracket and disconnect the wiring harness. Install the new motor by reversing these steps and ensure that all electrical connections are tight and secure.
In cases where the wiper switch is the issue, access the switch by removing the steering column cover. Disconnect the wiring harness, and replace the switch with a new one. Make sure to test the wipers after each replacement to confirm that the issue is resolved. For detailed procedures and safety tips, consider reviewing the Automotive Scantools - A Step-by-Step Guide course, which offers additional insights into automotive repairs.
Final Thoughts
Diagnosing and repairing car wiper issues can save you time and enhance safety. By understanding the components and testing methods, you can effectively address most problems. Regular maintenance of your vehicle’s electrical systems will help prevent future issues.